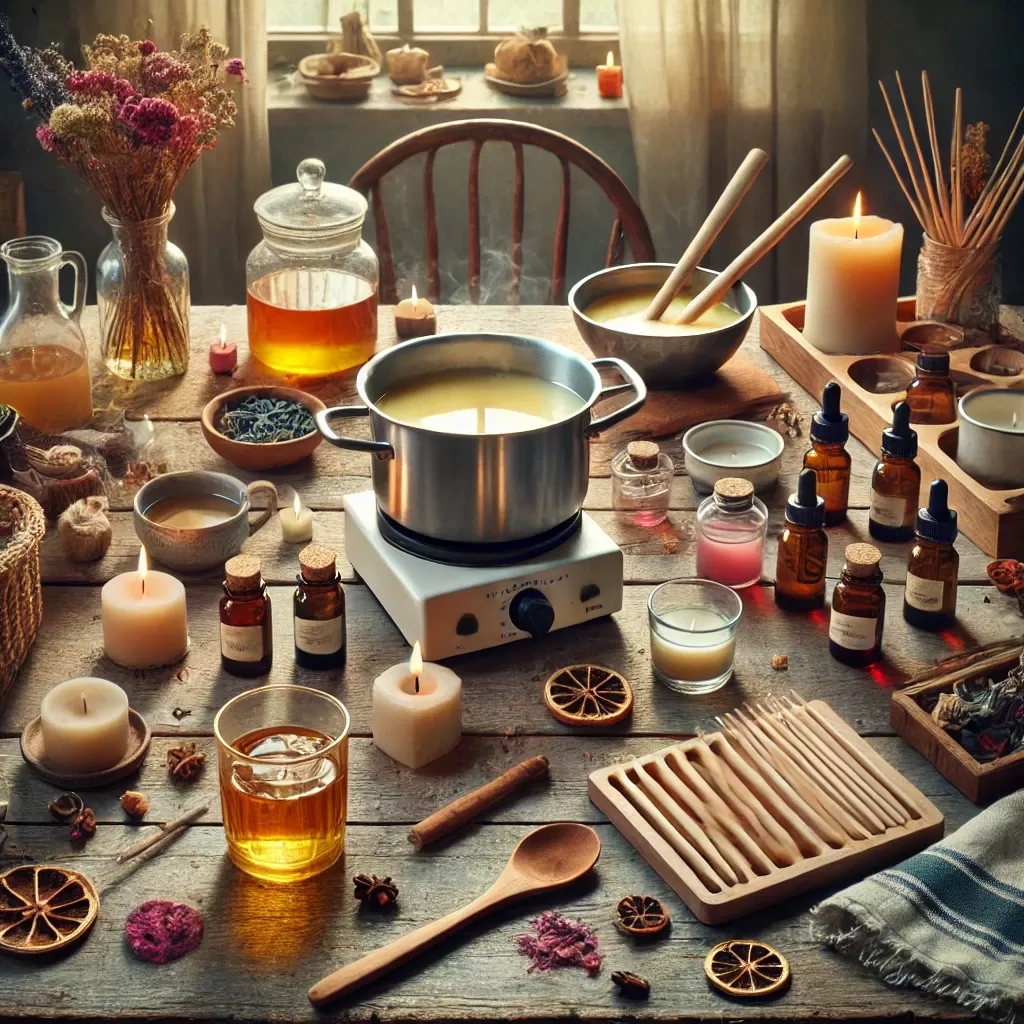
DIY Scented Candles: How to Create Your Own Personalized Candles at Home
Making Scented Candles at Home: A Step-by-Step Guide
Making your own scented candles at home is a fun and rewarding craft that allows you to create personalized, fragrant candles tailored to your preferences. With a few simple ingredients and tools, you can make candles that suit your style and home decor while filling your space with beautiful aromas.
Materials Needed for DIY Scented Candles
- Wax: Choose from various wax types such as soy wax, beeswax, or paraffin wax, depending on your preferences and the burn characteristics you desire.
- Fragrance Oils or Essential Oils: Select your favorite scent. Essential oils are a natural option, while fragrance oils come in a wide variety of aromas.
- Candle Wick: Cotton or wood wicks are commonly used for homemade candles. Choose the appropriate wick size based on the size of your container and wax type.
- Candle Container: Use glass jars, ceramic holders, or metal tins to hold the wax. Ensure the container is heat-resistant and can hold the amount of wax you plan to use.
- Double Boiler: For melting the wax, a double boiler or a heatproof bowl placed over simmering water works best to prevent the wax from burning.
- Wick Holder: A wick holder or a pencil can be used to keep the wick centered while the wax cools and hardens.
- Thermometer: To monitor the temperature of the melted wax and fragrance oils, ensuring they blend properly without overheating.
Steps to Make Your Own Scented Candle
- Prepare the Wick: Start by securing the wick to the bottom of the container with a wick sticker or a small amount of melted wax. Make sure the wick is centered and straight.
- Melting the Wax: Melt the wax using a double boiler method. Heat the wax gently and stir occasionally to ensure it melts evenly. Monitor the temperature with a thermometer. Most waxes should be melted to around 170°F (76°C).
- Adding Fragrance: Once the wax is melted, remove it from the heat and allow it to cool slightly. Add fragrance oils or essential oils at the recommended ratio (usually about 6-10% fragrance to wax). Stir well to evenly distribute the scent.
- Pouring the Wax: Carefully pour the melted wax into the prepared container, leaving about half an inch (1 cm) of space at the top. Be sure to pour slowly to avoid air bubbles.
- Setting the Wick: Keep the wick centered using a wick holder or a pencil laid across the top of the container. Allow the wax to set and cool completely, which may take several hours or overnight.
- Trimming the Wick: Once the wax is fully set, trim the wick to about 1/4 inch (5 mm) above the surface of the wax. This ensures a clean, controlled burn.
Customizing Your Scented Candles
One of the best things about making your own candles is the ability to customize them to fit your personality, home decor, and fragrance preferences. Here’s how you can personalize your candles:
1. Choosing the Right Wax
The type of wax you use can affect the burn time, fragrance throw, and overall appearance of your candle. Here’s a quick guide to choosing the right wax:
- Soy Wax: Ideal for those who want an eco-friendly option with a smooth finish and great scent throw. It’s perfect for beginners.
- Beeswax: A natural wax with a subtle, honey-like scent. It’s best for those who prefer a natural, slow-burning candle.
- Paraffin Wax: While not as eco-friendly, paraffin wax is commonly used for its ability to hold fragrance well and produce a strong scent throw.
2. Choosing the Right Fragrance
When selecting fragrance for your homemade candles, you can either go for essential oils or synthetic fragrance oils. Essential oils provide a natural, aromatic experience with therapeutic benefits, while synthetic fragrance oils offer a wider variety of scents that can be more vibrant and long-lasting. Some popular options include:
- Lavender: Relaxing and soothing, perfect for relaxation or a calming atmosphere.
- Citrus: Energizing and refreshing, ideal for kitchens or bathrooms.
- Vanilla: Warm and comforting, a classic scent for cozy settings.
- Pine or Eucalyptus: Great for fresh, outdoorsy scents that promote a clean and crisp ambiance.
3. Selecting the Perfect Candle Container
When choosing your candle container, consider both aesthetics and functionality. Glass jars are popular for their transparent look and even burn, while metal tins are a great option for a rustic, portable feel. You can also choose decorative ceramic holders for a unique touch. Be sure the container can withstand heat and holds enough wax for your desired candle size.
4. Experimenting with Color and Additives
For a personalized touch, you can add color to your candles using candle dye. You can also incorporate additives like dried flowers, herbs, or glitter for a decorative look. Just be sure not to add too much, as it could interfere with the candle’s ability to burn properly.
Additional DIY Candle Tips
- Testing Burn Time: Always test your candle after making it to ensure it burns evenly and safely. This will help you adjust wick size and fragrance amounts for future batches.
- Allow Candles to Cure: For the best fragrance throw, allow your homemade candles to cure for at least 24-48 hours after pouring. This helps the scent to fully develop and integrate into the wax.
- Storing Candles: Keep your candles in a cool, dry place away from direct sunlight to prevent the wax from melting or becoming discolored.


0 comments